No-Bake Pineapple Cream Dessert
Introduction
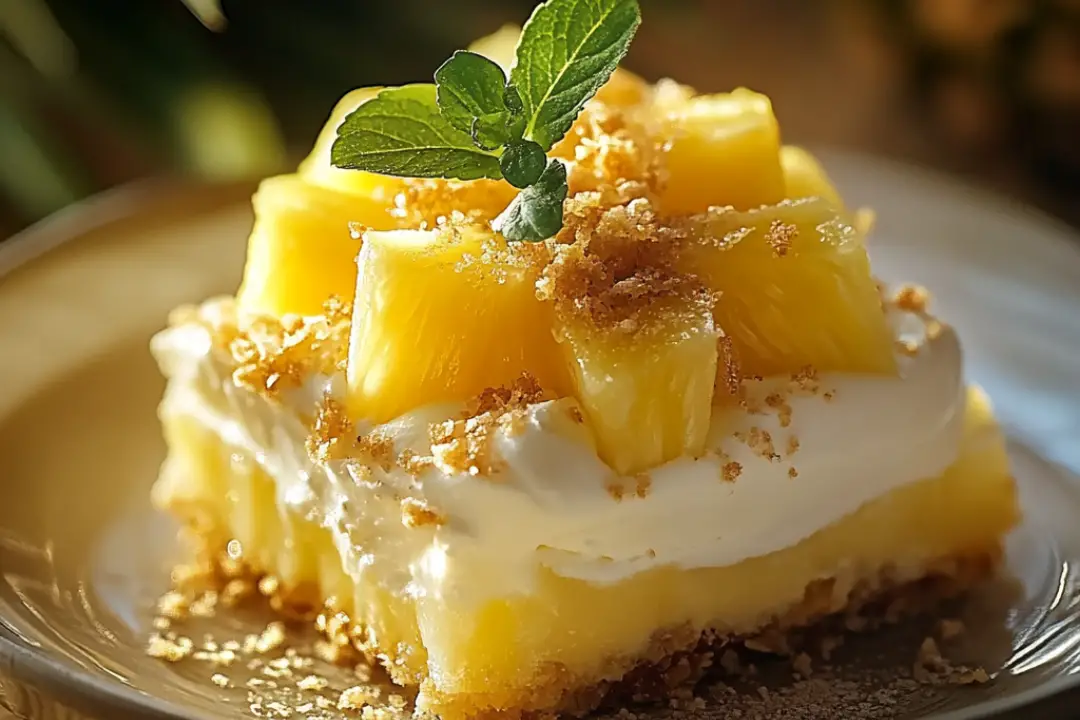
If you’re looking for a refreshing, light, and easy dessert that your family will rave about, this No-Bake Pineapple Cream Dessert is a must-try! I recently whipped this up for a family gathering, and let me tell you, it didn’t last long. My kids loved the fluffy, creamy texture, while my husband kept going back for seconds (and thirds!). The best part is that it’s incredibly simple to make with minimal ingredients, and there’s no baking involved. Whether you’re hosting a party, having a family dinner, or just need something quick and sweet for a snack, this dessert hits all the right notes. Plus, it’s the perfect combination of tropical fruit and creamy goodness, making it ideal for warm weather.
Ingredients
This No-Bake Pineapple Cream Dessert is made with simple, pantry-friendly ingredients, so you won’t need to worry about running to the store for anything special. Here’s what you’ll need:
- 1 can (20 oz) crushed pineapple in juice (do not drain)
- 1 package (3.4 oz) instant vanilla pudding mix
- 1 container (8 oz) whipped topping (such as Cool Whip), thawed
- 1 package graham crackers (about 9 full sheets), crushed
- 1/2 cup melted butter
- Optional: maraschino cherries or shredded coconut for garnish
These ingredients come together to create a creamy, fruity filling atop a buttery graham cracker crust. It’s such an easy dessert that you’ll be making it again and again!
Instructions
Making this No-Bake Pineapple Cream Dessert is a breeze. Just follow these simple steps for a deliciously creamy treat!
- Prepare the Crust:
In a mixing bowl, combine the crushed graham crackers and melted butter. Mix well until the butter is fully absorbed by the crackers. Press the mixture firmly into the bottom of a 9×9-inch pan to form an even crust.
Place the pan in the fridge to chill while you prepare the filling. - Make the Pineapple Cream:
In a large mixing bowl, add the can of crushed pineapple (with the juice) and the vanilla pudding mix. Stir until the mixture thickens slightly and is well combined. This will form the base of your pineapple cream filling. - Add Whipped Topping:
Gently fold in the thawed whipped topping until everything is combined. The mixture should become light and fluffy, giving the dessert a smooth, airy texture. - Assemble the Dessert:
Spread the pineapple cream mixture evenly over the chilled graham cracker crust, smoothing it out with a spatula or spoon. Be sure to cover the crust completely with the creamy filling. - Chill and Serve:
Refrigerate the dessert for at least 2 hours to allow it to set properly. This gives the flavors time to meld and the texture to firm up.
When ready to serve, garnish the dessert with maraschino cherries or a sprinkle of shredded coconut, if desired.
Nutrition Facts
Servings: 9
Calories per serving: 280 kcal
While this dessert isn’t the lowest-calorie option, it’s perfect for an occasional treat. The calories mainly come from the graham crackers and whipped topping, but considering how light and refreshing it is, it’s totally worth it!
Preparation Time
- Total Prep Time: 15 minutes
- Chill Time: 2 hours minimum
How to Serve
When it comes to serving this delicious No-Bake Pineapple Cream Dessert, there are a few ways you can elevate its presentation and taste. Here are some ideas:
- Classic Serving: Slice into 9 squares and garnish with maraschino cherries or shredded coconut for a classic look.
- Individual Servings: For a fun twist, scoop individual servings into small bowls and top with a cherry or coconut.
- Top with Whipped Cream: Add an extra layer of whipped cream on top of the pineapple cream for even more fluffiness.
- Serve with Fresh Fruit: Add a few slices of fresh tropical fruit like mango or kiwi on the side for a tropical theme.
- Add a Drizzle of Honey or Caramel Sauce: For extra sweetness, drizzle a little honey or caramel on top of each serving.
Additional Tips
- Use Full-Fat Whipped Topping: For the creamiest texture, opt for full-fat whipped topping instead of light or sugar-free versions.
- Make it Ahead: This dessert is perfect for prepping ahead of time! You can make it the day before and let it chill overnight.
- Crushed Pineapple Alternative: If you prefer a chunkier texture, you can use diced fresh pineapple instead of crushed pineapple. Just make sure to drain it well before adding it to the mix.
- Swap the Crust: If you’re not a fan of graham crackers, you can use digestive biscuits, vanilla wafers, or even a shortbread crust.
- Add More Flavor: For a fun variation, try adding a few tablespoons of orange juice or zest to the pineapple mixture for a citrusy kick.
Recipe Variations
Feel free to get creative with this recipe and try out different variations to suit your tastes or dietary preferences. Here are some ideas:
- Tropical Twist: Add shredded coconut to the filling for more tropical flavor. You could also include chopped macadamia nuts or crushed pineapple chunks.
- Gluten-Free: Use gluten-free graham crackers to make the crust gluten-free.
- Dairy-Free: Swap out the whipped topping for a dairy-free version, such as coconut whipped cream, and use a dairy-free pudding mix.
- Chocolate Layer: For a chocolate lover’s twist, add a layer of chocolate pudding or chocolate chips on top of the graham cracker crust before adding the pineapple filling.
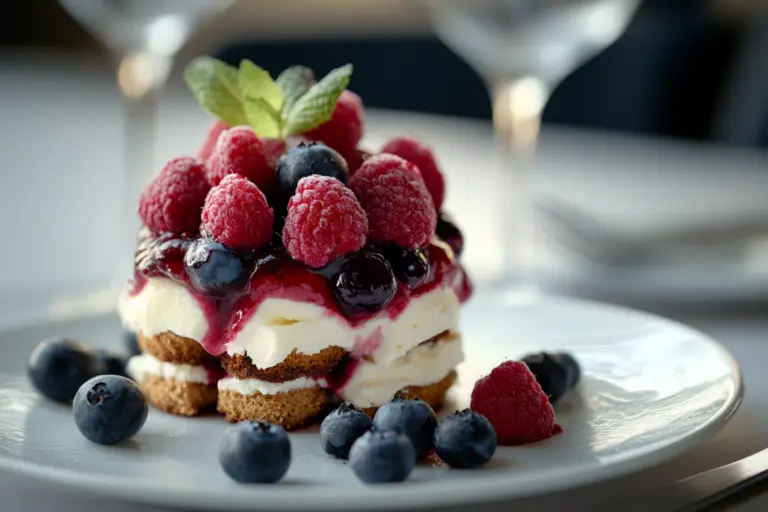
- Berry Delight: Add some fresh berries like strawberries or blueberries to the top for a burst of color and a fresh fruity flavor.
Serving Suggestions
This dessert pairs beautifully with a variety of drinks and meals. Here are some serving suggestions:
- Serve as a light summer dessert after a BBQ or picnic.
- Pair with a refreshing iced tea or tropical fruit punch to complement the fruity flavors.
- Include it at a holiday gathering like Easter or Thanksgiving for a light, fruity option that everyone will enjoy.
- Perfect for a birthday party or potluck – it’s easy to make in advance and serves a crowd.
Freezing and Storage
- Freezing: You can freeze this dessert for up to a month if you want to make it in advance. Just cover it tightly with plastic wrap or aluminum foil before placing it in the freezer. To thaw, place it in the fridge for a few hours before serving.
- Storage: Keep the dessert in the fridge for up to 3 days. It’s best to cover it with plastic wrap or store it in an airtight container to maintain freshness.
FAQ Section
- Can I use fresh pineapple instead of canned?
Yes, but make sure to drain it well before using. Canned pineapple in juice is often more convenient and contains more liquid for the filling. - How long should I refrigerate the dessert?
You should refrigerate the dessert for at least 2 hours to allow it to set, but for the best texture, letting it sit overnight is ideal. - Can I make this dessert gluten-free?
Yes, simply use gluten-free graham crackers for the crust. - Can I use a different type of pudding mix?
While vanilla pudding works best for this recipe, you can experiment with other flavors, like banana or coconut. - How do I store leftover dessert?
Store the dessert in an airtight container or cover it tightly with plastic wrap in the fridge for up to 3 days. - Can I add nuts to this dessert?
Yes, chopped macadamia nuts or almonds would be a great addition to the topping or mixed into the filling. - Can I use sugar-free pudding mix?
Yes, you can use sugar-free pudding mix, though the texture and sweetness may vary slightly. - Is there a way to make this dessert dairy-free?
Yes, use a dairy-free whipped topping and pudding mix to make this dessert dairy-free. - Can I use a larger pan?
Yes, you can use a larger pan, but the layers may be thinner. You may also need to adjust the chilling time. - Can I make this dessert a day in advance?
Yes, making it ahead of time is a great idea! It will give the flavors more time to meld.
Conclusion
This No-Bake Pineapple Cream Dessert is the perfect combination of creamy, fruity, and crunchy. It’s incredibly easy to make, with simple ingredients that deliver a refreshing flavor. Whether you’re serving it for a summer picnic, a family gathering, or just as a sweet treat after dinner, this dessert is sure to be a hit. The best part? It’s no-bake, making it a quick and effortless option for any occasion. Try it out, and I’m sure it will become one of your go-to desserts!
